Saturday, May 12, 2007

Exploding Scrapbook Box

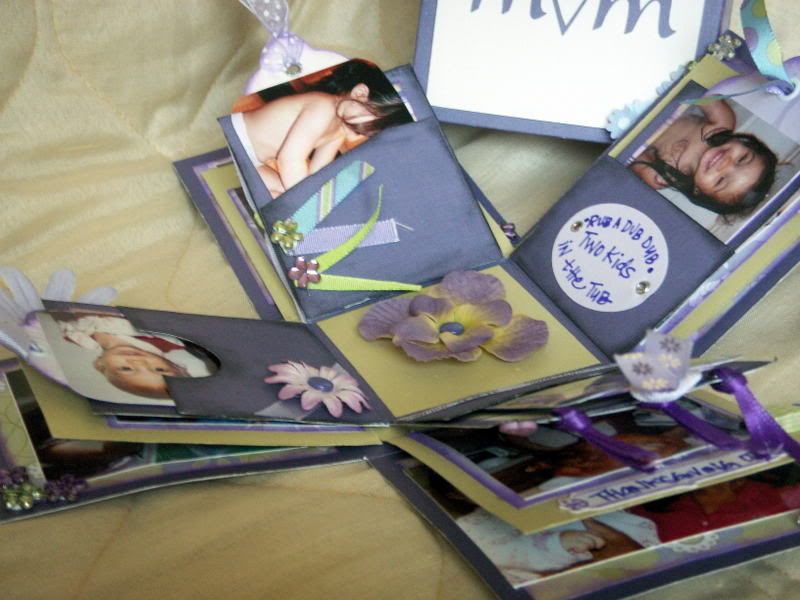
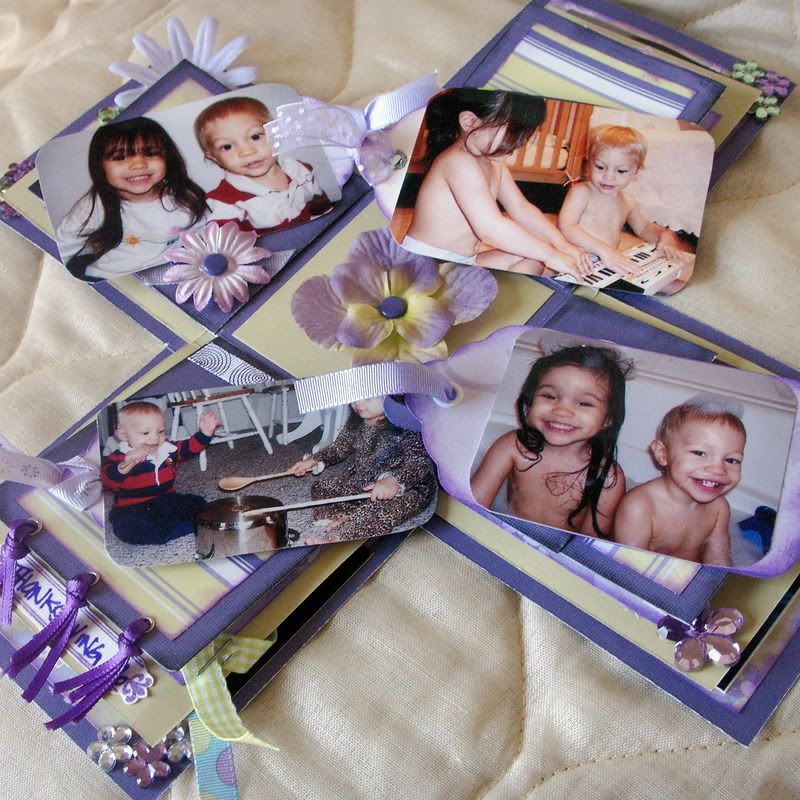
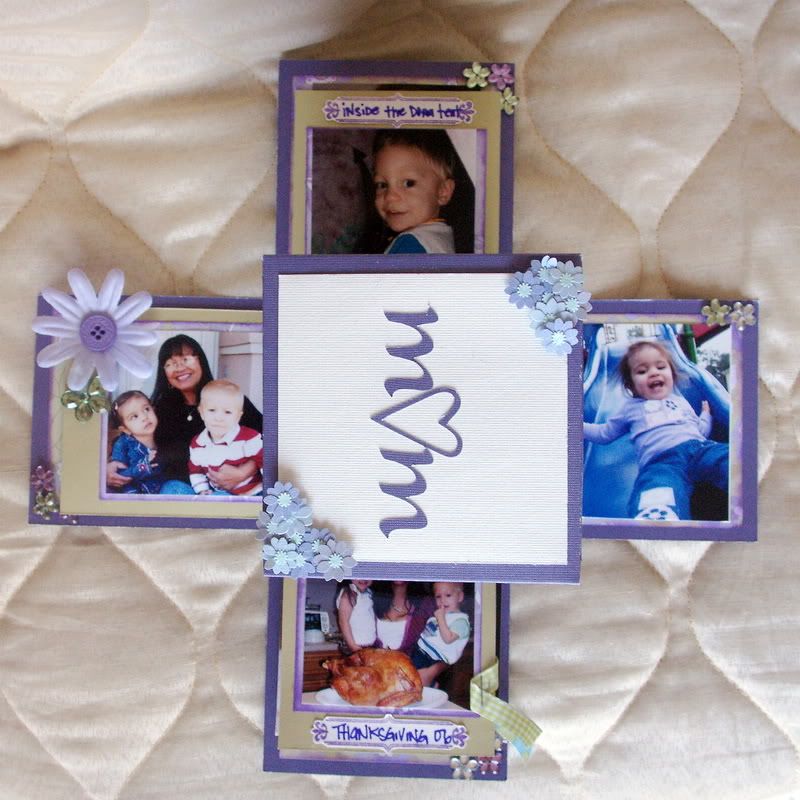
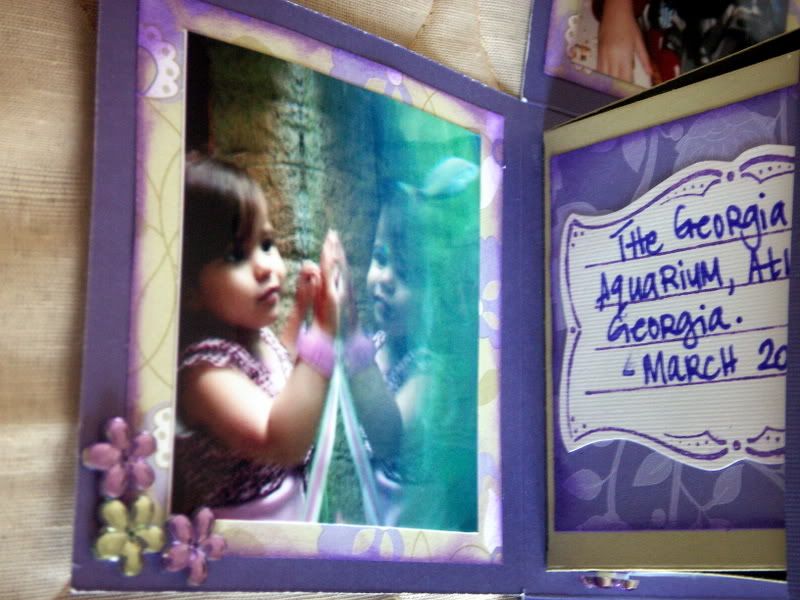
I've finally started my own Etsy site! I'm slowly adding items to it. One of the things I'd like to have sucessful sales in are my exploding/scrapbook in a box. They're ultra cute and make awesome gifts. I've had a bunch of people who aren't too familiar with these ask me what they're supposed to do with them. So I completed one last night, pictures and all, as a basic guide.


Each tag on the inner layer pulls out. I attached a photo on each and did some quick journaling on the back.


I left stamped small areas for journaling.


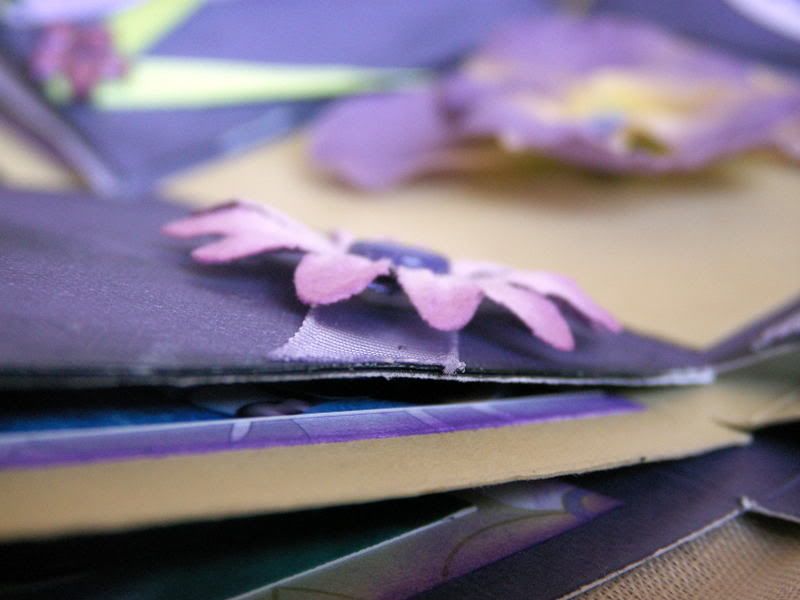
Lot of embellishments to help your photos pop.


Another example of a journaling stamp. If you don't care for these, you can always cover it up with another photo.


Please visit my site. I will be adding more items very soon!!
-xoxo-
Jessica

Friday, April 6, 2007

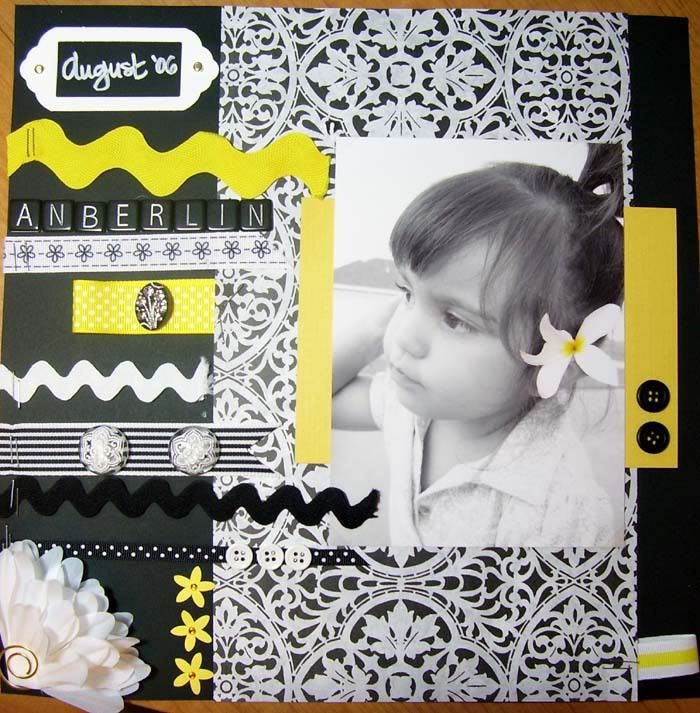
Anberlin

A lot of the time, I'll pick two or three colors for a layout and stick with it. Here, the black, white and yellow are used in sync with the altered photo of my daughter (look back a couple of entries to see how to alter your photos).
Pattern Paper: The Paper Studio
Cardstock: DCWV
Yellow Flowers: Jolee's
White Flower: Heidi Swapp
Circle Clip: The Paper Studio
White Paint Pen: Zig
Tile Letters: ? I don't know who makes them.
Various buttons, some antique and I'm disappointed you can't see some of the detail work on them.
White Book Plate: ?
Brads: Making Memories
Staples
Ribbon: Mostly Ribbon FX from hobby lobby and various manufacturers.
Rick Rack
Kudos to you if the colors remind you of the band Stryper. LOL!! ^-^

Birthday Card

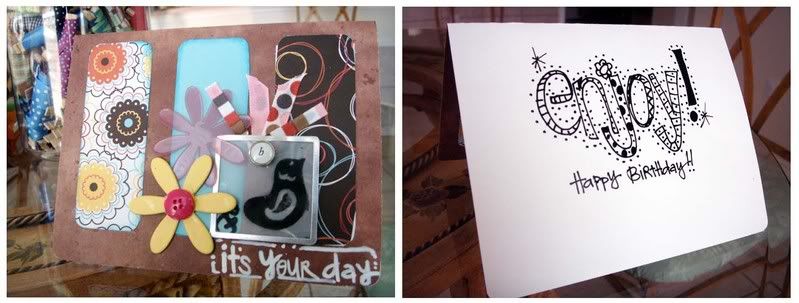
My Mom almost always comes up to me at the last minute and says, "Jessi, I need a card for...". ARGH! I'm not the best cardmaker, especially when put on the spot, but I am pretty happy with the way this one came out.

It's Your Day card
Patterned Paper: American Crafts ("Play)
Chipboard Flowers: Heidi Swapp
Acrylic Flower: Heidi Swapp
Initial Brad: Colorbok
Tag: Making Memories
Stamp: Some foam stamp I found in the dollar bins at Michael's.
Ribbon: American Crafts
Pen: White Zig Paint Pen
Black Pen: Sakura Glaze (if you haven't tried these, go now! They're wonderful!!!)

The inside of the card is not stamped. I hand drew the lettering based off of a stamp set from Elsie Flannigan, who is my IDOL! LOVE LOVE LOVE her work. I used a Sakura Gelly Roll Glaze pen. I'm in love with these. I hold them in almost the same regard as my Signo Uniball White pens. *drool*

"Nobody can say no to the honey nut O's in Honey Nut Cheerios"

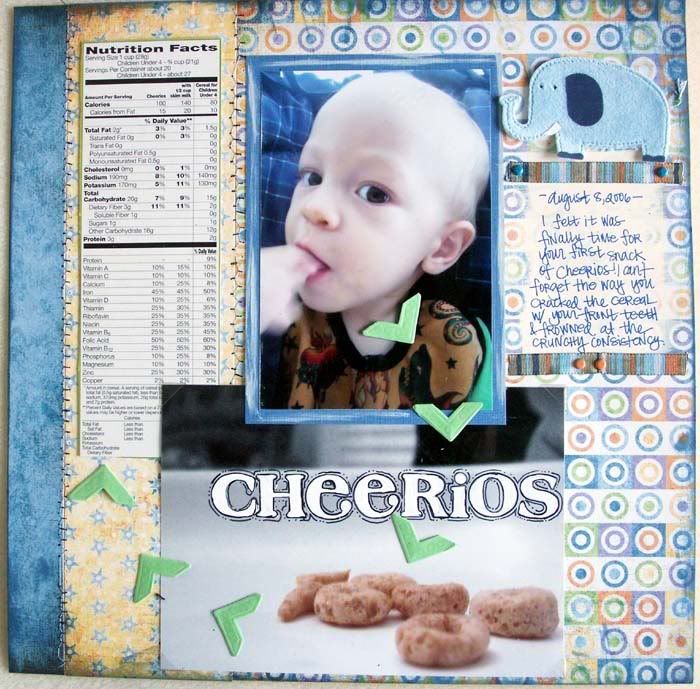
Cheerios

Patterned Paper: Basic Grey (Oh Boy!)
Cardstock: DCWV
Letter Stickers: Basic Grey (used as a mask only)
Photo Corners: Heidi Swapp
Elephant: Jolee's
Ribbon: American Crafts
Brads: Making Memories
Paint: Making Memories
Distress Ink: Ranger Inks (blue jean)
White paint pen: Zig
Black Pen: Zig
Blue Pen: Sakura
Sewing Machine

A few techniques on this page:

1. Sewing: I sewed the three different patterned papers together. I love this look. Simple. Classic. Easy. My sewing machine isn't mine, it's my mother's and it's an old Brother machine from the 70's. It hates me. LOL. I can never get the stitches to come out properly, but I still like the look of the messy stitches.

2. The "Cheerios" title was made using Basic Grey sticker letters as a mask. Originally, when i laid them out on the layout, the color on the stickers didn't pop enough for me. So i outlined them using a black Zig pen and then I colored them in using a white Zig paint pen.

3. The photo of the Cheerios is altered. I LOVE this technique and hope to use it more and more in my future layouts.

If you're not familiar with this method, here's a quick tutorial that I lovingly borrowed from a MySpace group "Scraplifters" ran by Kristin.

I used Adobe Photoshop, but you can do this with other programs as well.
-First make a duplicate layer on the photo (my program automatically does this when you adjust the hue of the photo, but with some other programs, you do it manually).
-Next adjust the color saturation on the top layer to zero.
-Highlight the area you want to stay colored (using the magnetic lasso). I usually do this a little bit at a time so that if you accidentally go outside of the portion you want to change, you don't have to start over completely.
-After you've highligted the area you want colored, hit delete. This will remove the top layer (the black and white layer) so that the bottom layer (original colored photo) shows through the hole.
-Finally, flatten the layers in order to save the file as a jpg.

4. I cut the nutritional label off the Cheerios box to use as an embellishment.

5. Sometimes I just don't know where to put journaling. On this particular layout, the paper was pretty busy. In cases like this, I'll grab my handy dandy acrylic paint and just paint over an area I want to do my journaling in. Works just about everytime.

6. The photo corner circle...first, I grabbed something circular. I think I used the small end of a lampshade for this. I marked a small dot in each spot I wanted to place a photo corner. It's not exact and the spacing between them isn't even, but I wanted a circle effect and a circle effect is what I got!

:D


Wednesday, April 4, 2007

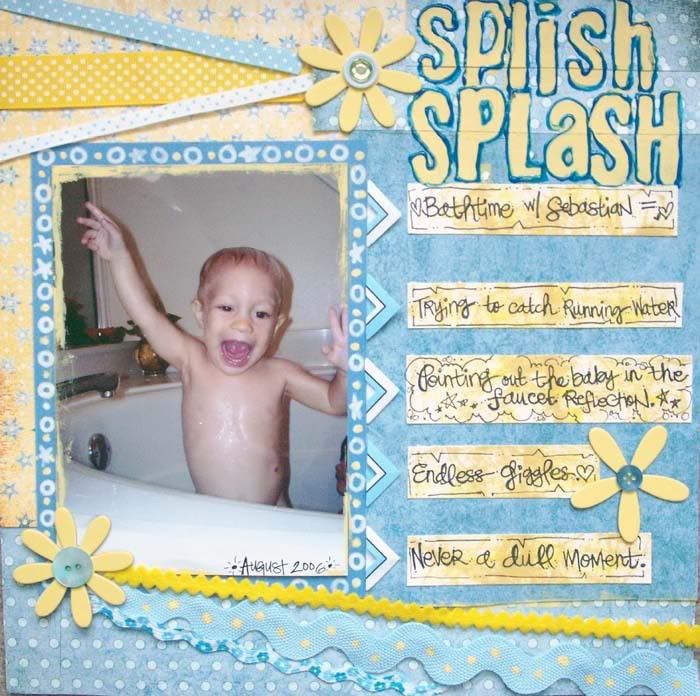
Splish Splash


SPLISH SPLASH

Patterned Paper: Basic Grey (Oh boy!)
Cardstock: DCWV
White Paint Pen: Zig
Photo Corners: Heidi Swapp
Chipboard Flowers: Heidi Swapp
Ink: Ranger Ink (Straw)
Acrylic Paint: Making Memories
Ribbons: Various manufacturers

This is definately a matchy-matchy layout. The yellow dots on the fat rack is painted on with yellow acrylic paint. I outlined around the title with blue puffy paint. The imperfection reminds me of ripples on water's surface.

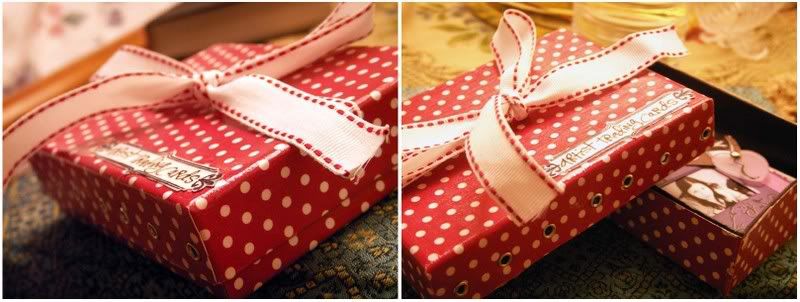
Box to hold ATC


I finally made a box to hold my artist trading cards. It's simple, but I love red and white polka dots...it's very retro. I used an old Zales jewelry box leftover from my anniversary gift from my husband. The cards fit perfectly inside!


ATC BOX
Patterned Paper: American Crafts
Cardstock: DCWV
Eyelets: Making Memories
Stamp: Lil' Davis Journaling Stamps
Pen: Black Zig
Ribbon
Modge Podge

I did not mean to adhere paper to the bottom portion of the box. By the time I realized that it was the bottom, I had already glued the paper down. Grrr! Ah well.

Tuesday, April 3, 2007

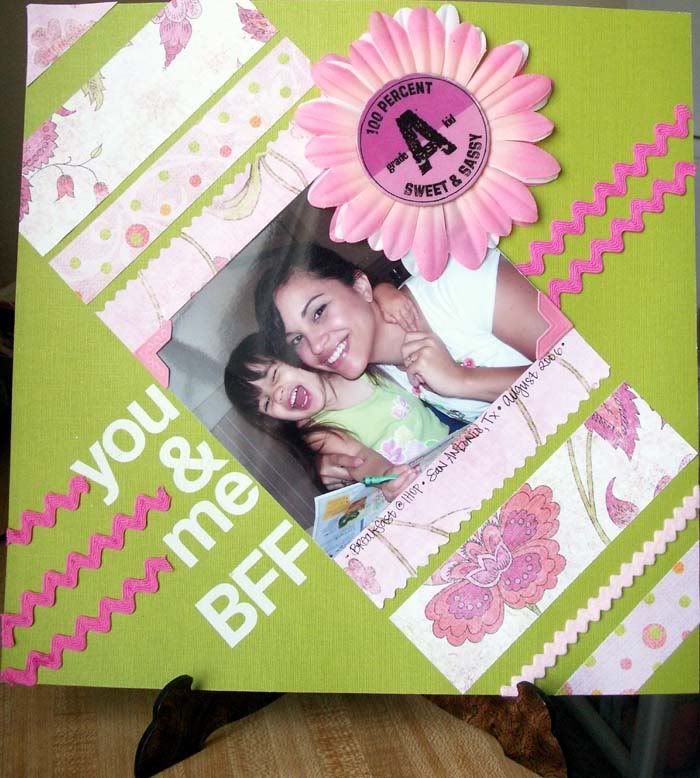
BFF

I'll let you in on a little secret: I like to scraplift from other people.

Oh. You already knew that?

Well, that's a relief. I haven't been scrapbooking for very long, a couple of years at most. When I do sit down to do a page, I usually glance at a magazine or website to get layout ideas. Or, I turn to my trusty groups on MySpace for help.

Cardstock: DCWV
Pattern Paper: My Mind's Eye
White Rubons: Heidi Swapp
Large Flower: Heidi Swapp
Photo Corners: Heidi Swapp
Chipboard Coaster: Lil' Davis
Rick Rack

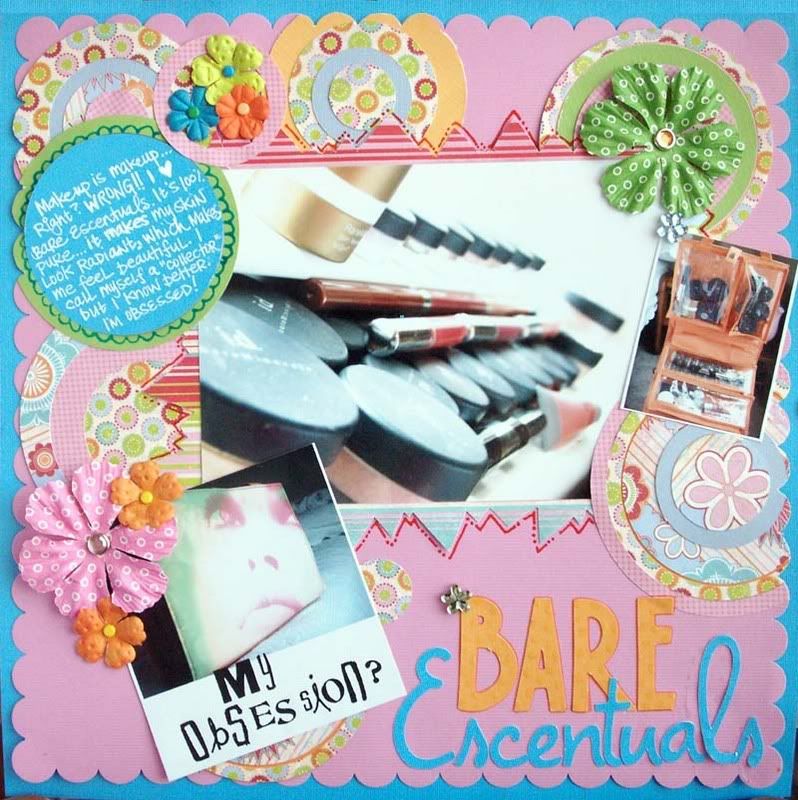
Obsessions

"A man with an obsession is a man who has very little sales resistance." -C.S. Lewis

Another challenge from my S.W. group on MySpace...scrap your obsession. Sometimes in my mind I confuse obsession for passion and vice versa. Some say that passion is the healthier version. So I try to use the word "passion" to describe the positive obsessions, like my love for scrapbooking, my family, arts, reading, good food, etc. My "obsessions"? Shopping for scrapbooking things (lol), Fall Out Boy (I can't help it, I just love them), and Bare Escentuals makeup probably top my list. I'd go into detail, but eh, you're here for the scraps. :)

"My Obsession"
Cardstock: DCWV
Scalloped cardstock: Bazzill
Patterned Paper: Basic Grey "Romani"
Anna Griffin
Flowers: Prima
Brads: Making Memories
Rhinestone flowers: Some dollar bag I got at Joann's.
Pen: White Uniball Signo
Die Cut Letters: Cricut (Opposites Attract)
Rubons: Lil' Davis Designs
Circles cut using a Fiskars circle template.

Enjoying the Smiles in my Life

I grab inspiration wherever I can take it. I'll never tell the actual source, but lately, there's been one website that is a wealth of motivation for me (and it's not twopeas or scrapbook.com...it's not even a scrapping site for that matter). I visit it daily, hoping for something new and generally, I'm not disappointed. Armed with my doodling journal, I sketch it and bring it to life on my pages.

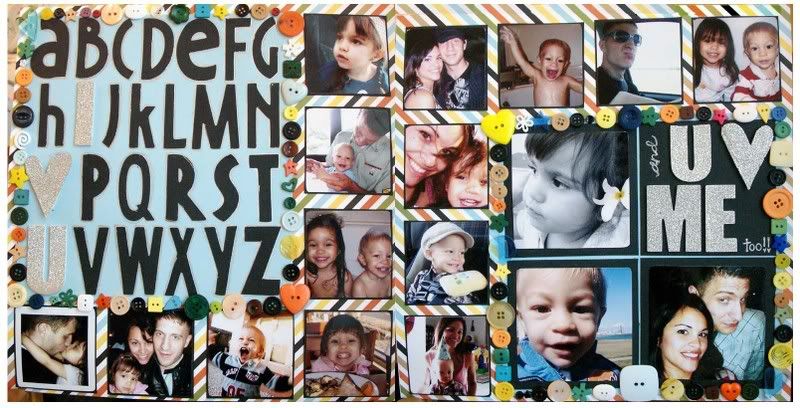
"ABC's and U & Me"
Papers: American Crafts ("Play" and "6th Avenue)
Cardstock: DCWV
Buttons: Various
Glitter Chipboard: Me and My Big Ideas
Die Cut Letters: Cricut (Opposites Attract)
Pen: Silver Sakura

The smaller photos measure 2.5x2.5 with a 1/8 border of black cardstock. The larger squares measure 4x4 and I cannot recall the matting measurements.

Wednesday, March 28, 2007

Altered Projects


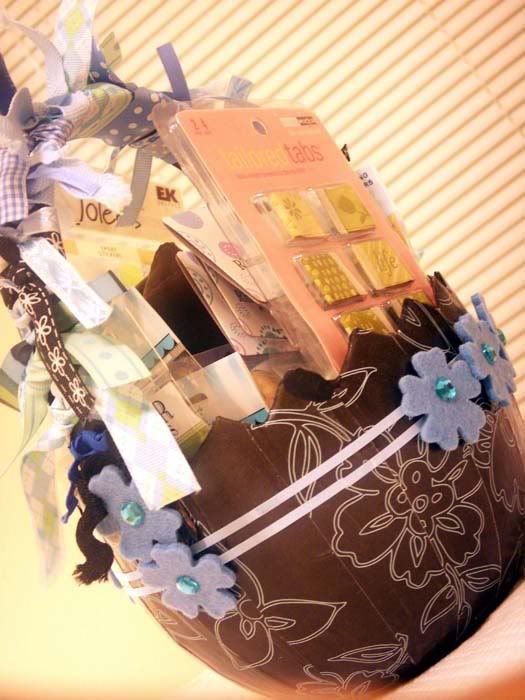
In one of my favorite scrap groups on MySpace, we're having an Easter/Spring themed swap. I chose to alter a paper mache Easter basket (it was supposed to look like an egg cracked in half) and filled it with lots of goodies. Since the basket is spherical, I had trouble attaching the paper. I had to cut the paper (by American Crafts by the way) into strip and individually modge podge them on, carefully attempting to match the design as much as possible.

I realize now that it's not very "spring" like, but I still love the color palette. You can't go wrong with blues and blacks. :)


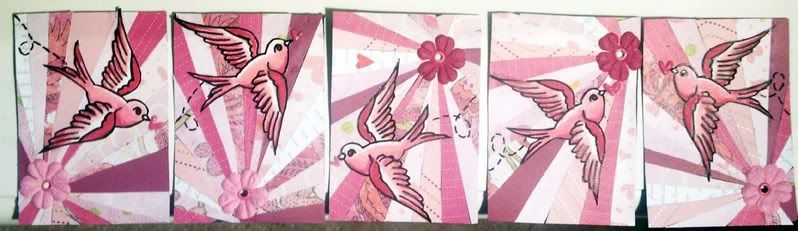
I participated in my first ATC swap. The theme for this swap was to do a card that was about yourself. These represent three things:

1. I love pink.
2. I love swallows.
3. I love prima flowers.


I used a technique that I love to use on my scrapbook layouts. I made a sunburst using triangular cut pieces of cardstock. I chose a spot for the burst to begin and slowly layered them around. The birds are all hand colored using prisma color pencils and I used a blending pen to blend (imagine that!). I then outlined the birds again using a Sakura Gelly Roll Glaze pen. If you haven't tried those yet, they are amazing. The ink dries raised, so it has an embossed feel to it. Plus the ink is shiny which adds even more depth.


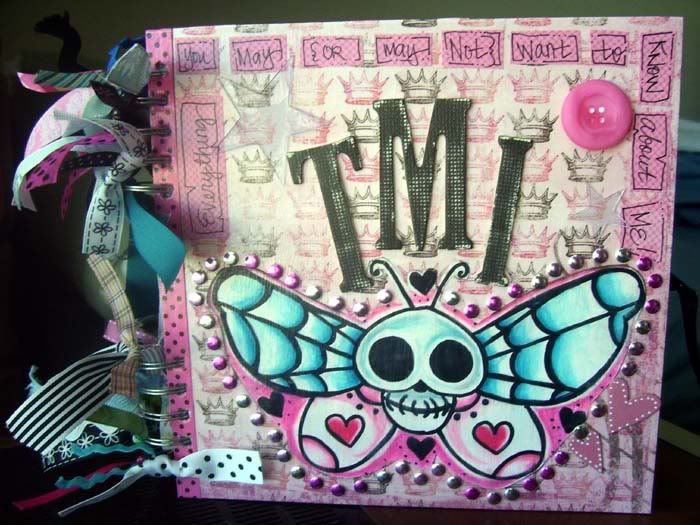
This is my TMI (Too Much Information) journal. I fill it with completely random facts about myself...weird things that I have encountered...likes, dislikes...medical jargon. There's no rhyme or reason to it which is great. I have a thought and I just run with it.

paper: My Mind's Eye; Bohemia
artwork: done by me, colored with prisma
ribbons: various
metal studs: colorbok
chipboard letters: pressed petals
Decorator tape: Heidi Swapp
Flower: Lil' Davis
Acrylic Star: Heidi Swapp
Chipboard Hearts: Heidi Swapp
metal photo corners: Making Memories


This past Christmas I altered some items and used it as the packaging for my gifts:


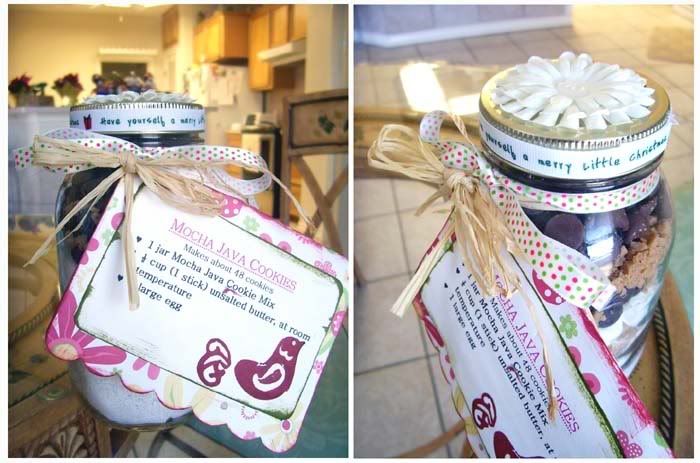
I was in line at the grocery store one day and I happen to see a little magazine called, "Gifts From a Jar." It gave directions on how to properly fill the jar with the necessary ingredients for a delicious baked treat. I ended up making a few differnt types; mocha java cookie jar, pumpkin cranberry bread jar, and some coconut and cranberry pancake jars. They were a huge hit with the recipients.


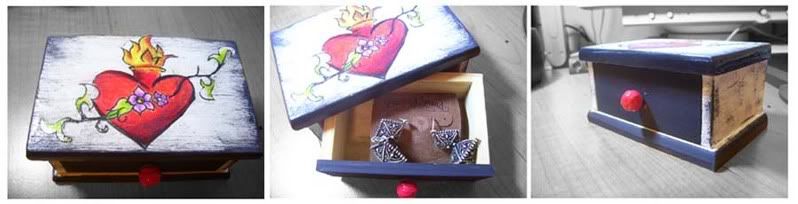
I took inspiration from the Marah Johnson "lovestruck" line with this sacred heart box. I drew the heart, coloring it with prisma colors again. I painted the wooden trinket box using making memories acrylic paints and then I modge podged the whole thing. This was a gift for my sister-in-law and I put the earrings I bought her inside.


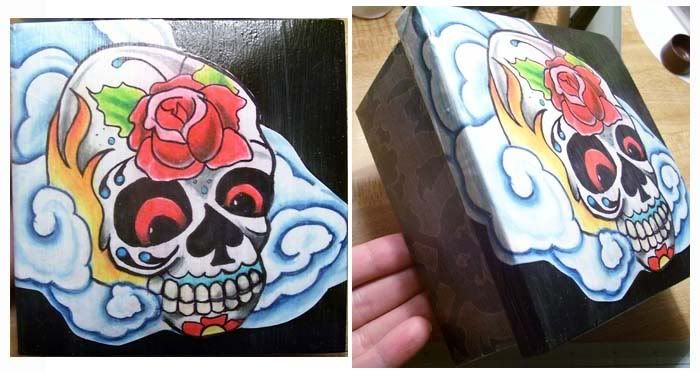
This is the altered box I made for my brother-in-law. I used Basic Grey paper on the bottom of the box. The top was painted with MM acrylic paint, then layered with my drawing, followed by modge podge. This was actually my first project like this and it was a learning process. I learned you have to be careful when using the modge podge...too much prevented the box from closing. I had to sand down some of the glue and even then, the lid was tight around the box. I filled it with Almond Rocha's and an iTunes gift card.


For Valentine's Day, I altered a paper mache heart. Unfortunately I cannot recall the manufacturer of the paper I used. It came in a huge kit my husband bought for me for Christmas. I distressed the edges of the lid using Ranger Inks. The outside edge of the lid is wrapped first with a black and white striped ribbon and then I layered red felt rik rak on top. The outside got a couple of layers of modge podge and I left the interior as is (I filled it with his favorite candies). The "bling" on the lid is by "Me and My Big Ideas" and the red acrylic circle letters are by Doodlebug.

TFL!

xoxo